
If you have ever wondered how celebs look so smooth, glowy, and somehow not sweaty after three hours of cameras, chaos, and a thousand flashbulbs, the answer is usually not “better skin.” It’s strategy. Celebrity makeup artists build faces the way architects build skyscrapers: layers, structure, and a whole lot of insurance.
Below are seven genius red carpet makeup hacks often used by pro glam squads to keep makeup looking flawless under harsh paparazzi flash photography. They are totally doable at home, and yes, they work even if your “red carpet” is a wedding, a birthday dinner, or a very brave selfie with flash on.
1) Do a flash test early
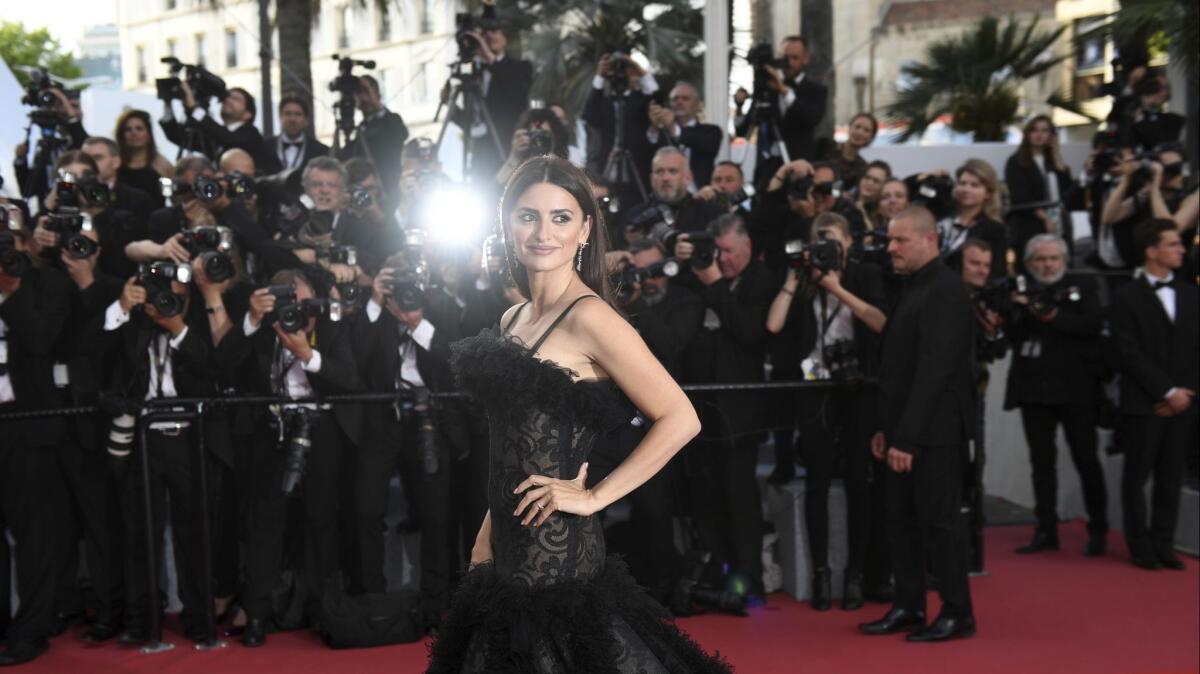
This sounds almost too simple, but it’s one of the most reliable pro moves: glam squads test makeup under flash before anyone steps into a press line. The goal is to catch issues like white cast, under-eye creasing, or powder reading chalky while there is still time to fix it.
Try it at home
- Do your base in natural light, then take a photo with flash from a few feet away (and one a little farther back, like someone else is taking it).
- Check the under-eyes, center of the forehead, nose, and chin first. That is where powders and certain SPFs tend to show up.
- If you see a white cast, swap to a more flash-friendly powder (see hack #3) or use less product where the flash hits most.
2) Keep foundation in thin layers
Red carpet foundation is rarely one thick coat. Pros build coverage in whisper-thin layers so the skin still looks like skin, even when high-resolution photos zoom into every pore and peach fuzz.
Try it at home
- Start with a sheer layer applied with a damp sponge or a duo-fiber brush.
- Only add more coverage where you actually need it (around the nose, chin redness, or any discoloration).
- For blemishes, spot-conceal after foundation instead of piling more foundation everywhere.
Why it works under flash: Heavy base can reflect light unevenly, which can emphasize texture. Thin layers photograph smoother and more natural.
3) Place powder, do not blanket it
If you have ever looked “perfect” in the mirror and then mysteriously dusty in photos, you are not alone. On red carpets, pros treat powder like seasoning: targeted, intentional, and never dumped all over the face.
Try it at home
- Press (do not swipe) a small amount of finely milled powder only where you crease or get shiny (under-eyes for creasing, and the T-zone for shine).
- Avoid heavy powder on the high points of the face (tops of cheeks, bridge of nose) if you are wearing any glow products.
- Use a small puff for precision, then sweep off excess with a clean fluffy brush.
Flashback tip: Flashback can happen with certain ingredients (like silica, talc, titanium dioxide, zinc oxide, and some brightening pigments), especially when applied heavily and hit with strong flash. You do not have to fear powder forever. Just keep it light, pressed in, and localized.
4) Use a setting spray sandwich
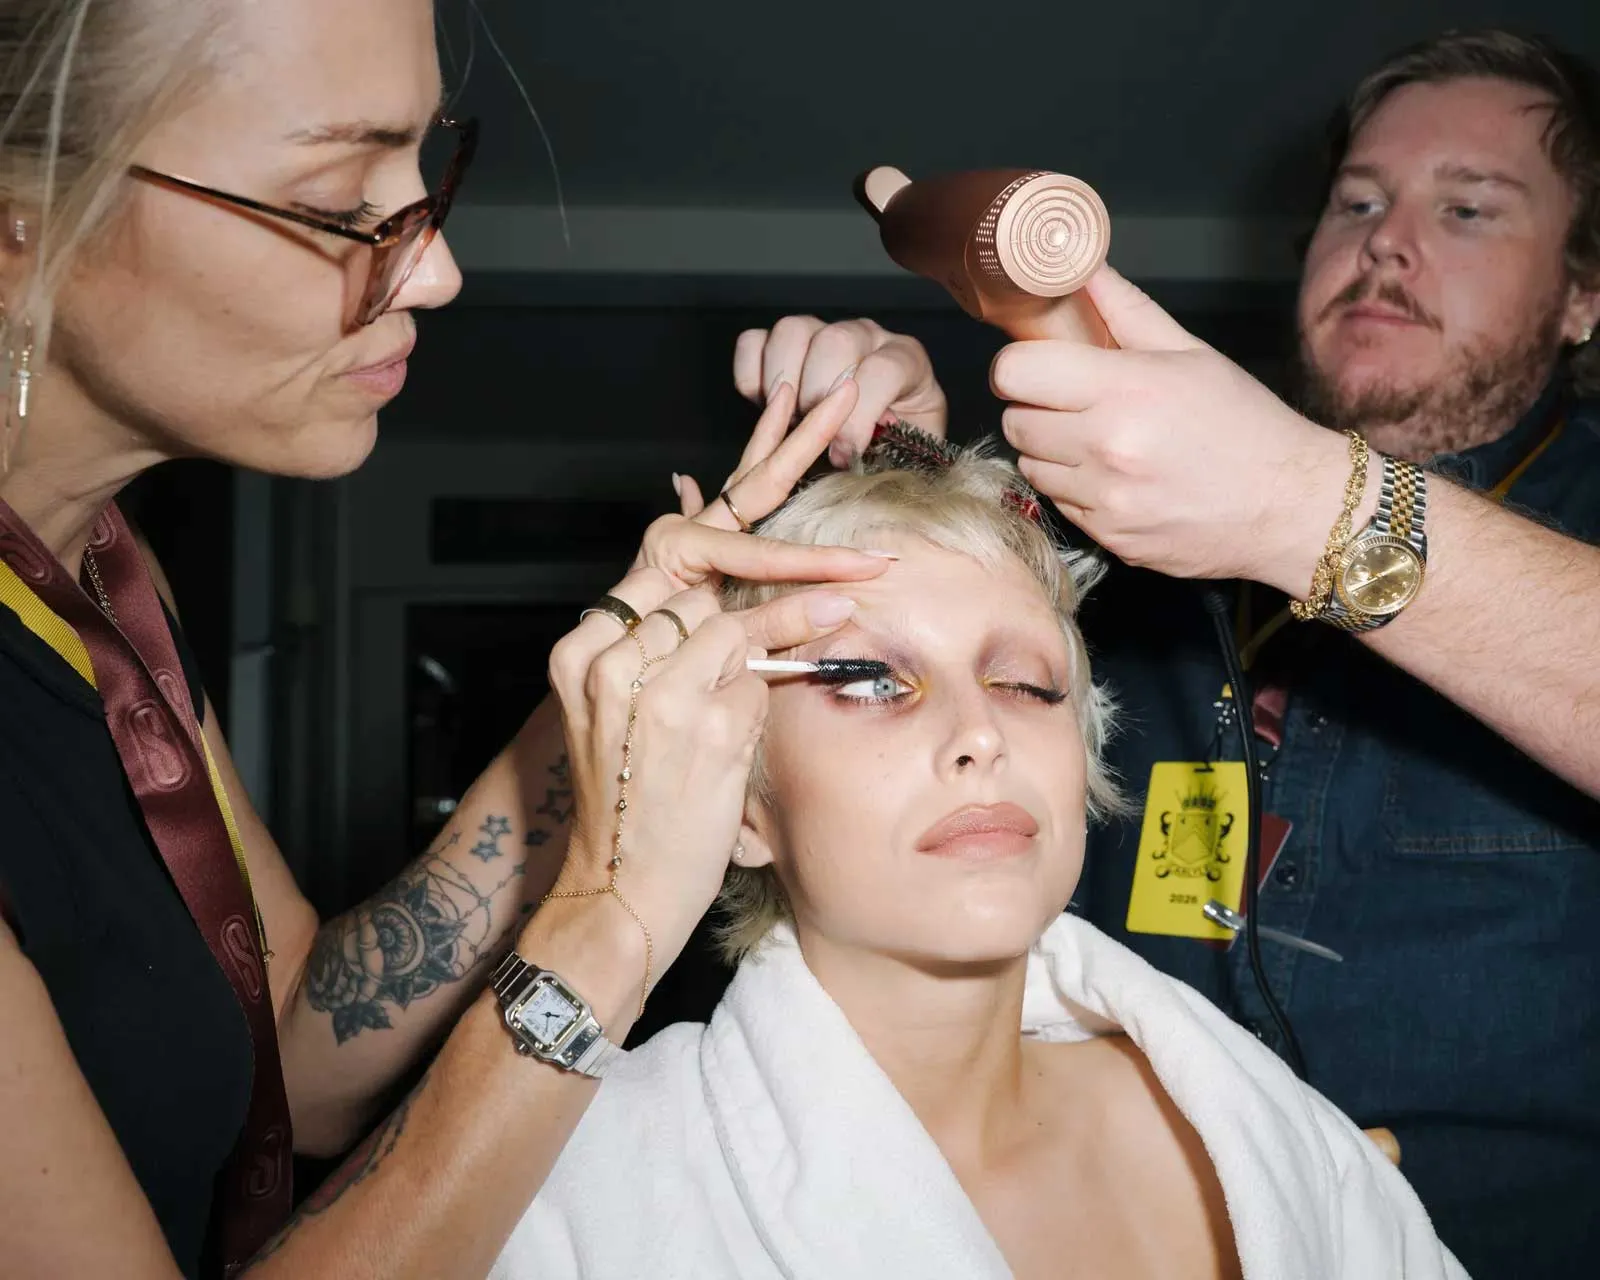
Celebrity makeup artists love a “sandwich” approach: mist, makeup, mist. It helps makeup fuse together so it looks less like layers sitting on top of skin and more like a polished finish that can survive heat, lights, and hugs.
Try it at home
- After skincare and before makeup, apply a light mist and let it dry down.
- Do your complexion and powders.
- Finish with another mist, then gently press with a sponge to melt everything together.
Why it photographs well: It reduces the powdery look that flash can exaggerate and helps blur product edges around the nose and under-eyes.
5) Color correct for natural coverage
The secret to that effortlessly rested look is often not more concealer. It’s less concealer, plus tiny amounts of color correction placed exactly where darkness or redness lives. On camera, it reads smoother and more believable.
Try it at home
- For blue or purple under-eyes, tap a peach corrector only on the darkest area, usually the inner corner and the trough.
- For redness around the nose, use a whisper of green corrector, then apply your base on top.
- Keep it thin. Correctors are potent, and thick layers can crease fast.
6) Sculpt in a flash-friendly way
Flash can flatten the face, which is why red carpet glam is all about subtle structure. Pros often choose more satin than sparkle and keep highlight away from areas that already reflect light naturally.
Try it at home
- Place contour slightly higher along the cheek hollow (closer to the cheekbone than you might for everyday), then blend up and back.
- Pick a highlight with a smooth sheen (no chunky shimmer) and place it on the tops of cheekbones and a touch on the brow bone.
- Skip heavy highlight on the tip of the nose if you are prone to shine in photos.
Pro trick: If you love glow, apply it first, then lightly veil foundation over it. It gives that “lit from within” effect that reads polished on camera.
7) Use lip liner for wear time
Glam squads treat lip liner like primer for the mouth. It grips lipstick, helps prevent feathering, and keeps lips looking crisp in close-up shots.
Try it at home
- Line your lips, then lightly shade in the whole lip with liner.
- Apply lipstick, blot, then add a second thin layer.
- If you want shine, tap gloss only in the center so the edges stay clean in photos.
Camera-friendly bonus: A slightly deeper liner and matching lipstick create dimension that still reads when flash flattens color.
Quick flash checklist
- Blot first, then powder. Powder on top of moisture can turn cakey fast.
- Watch reflective ingredients. Some mineral SPFs (zinc oxide, titanium dioxide) and products with reflective pigments can cause flashback. If you are worried, keep SPF in skincare and go lighter with powder.
- Do one last flash photo. Front-facing flash, then one from a slight angle.
- Pack a tiny touch-up kit. Blotting papers, a mini powder puff, and your lip color go a long way.
And remember, even celebrities have off photos. The difference is their glam squads plan for the lighting like it is part of the outfit. Now you can too.