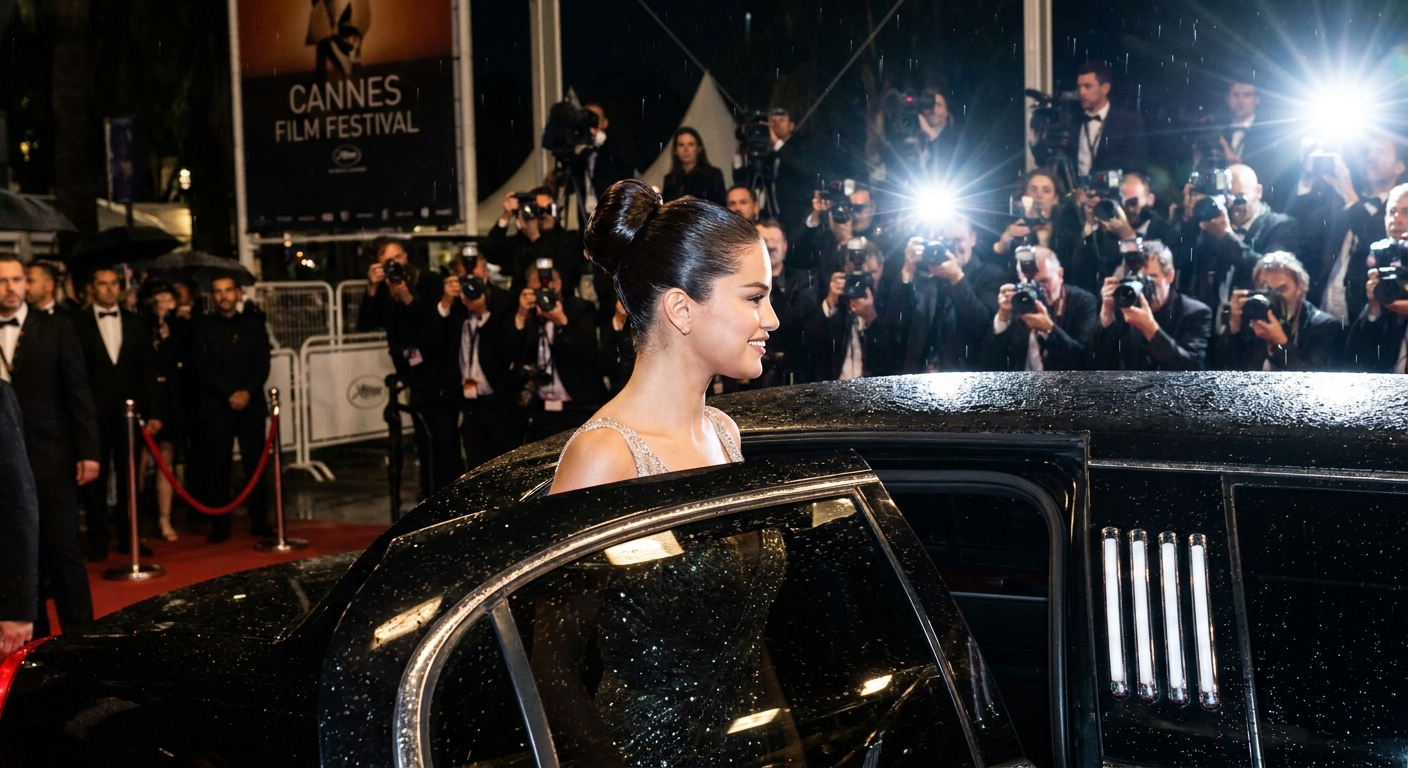
There are two kinds of red carpet hair: the kind that looks impossibly perfect, and the kind that looks impossibly perfect but is actually just smart prep, strategic product, and a little patience. The good news? The styles everyone keeps saving, screenshotting, and asking for are surprisingly doable at home, even if your “glam squad” is you, a mirror, and a bobby pin that disappears the second you set it down.
This is your step-by-step cheat sheet for three go-to trends we keep seeing on carpets and in real life: the sleek updo, classic Hollywood waves, and the wet-look that says “I’m booked and busy” even if you are headed to dinner and a movie.
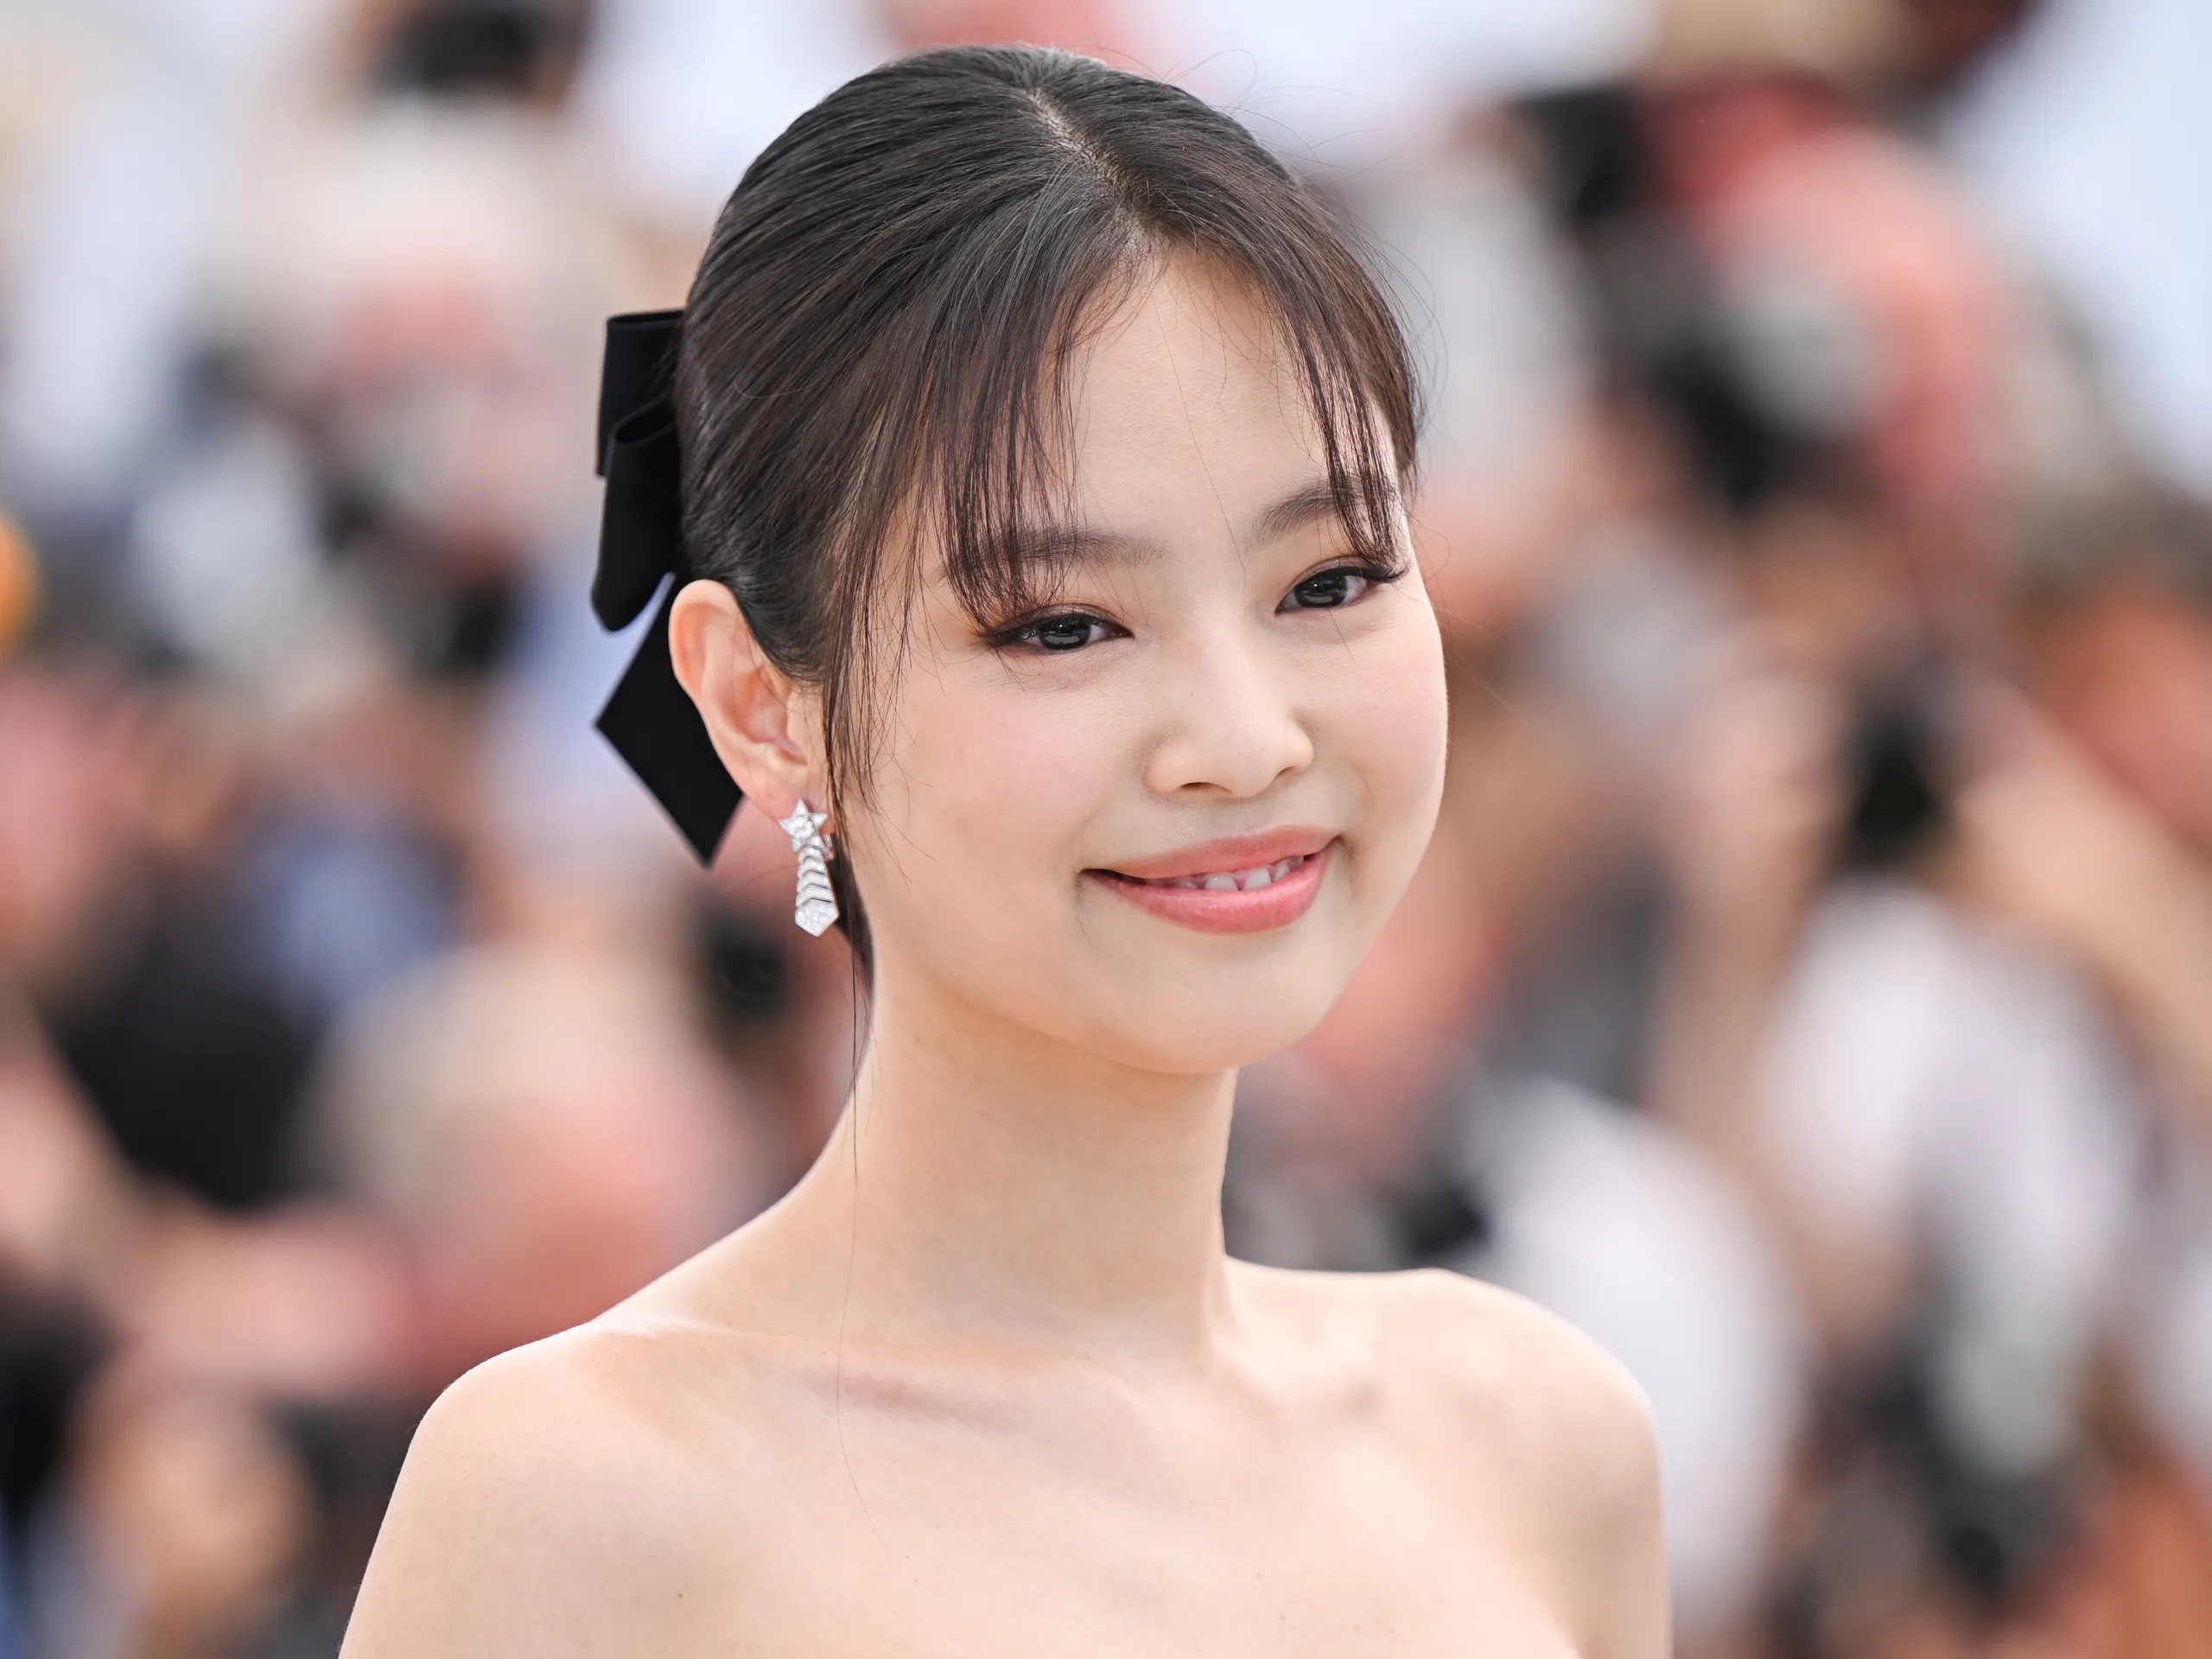
Before you start: prep
Most “how is her hair doing that?” moments come down to what happens before the style. Think of this as laying down the tracks before the train arrives.
What you need (the core kit)
- Blow dryer with concentrator nozzle
- Round brush (medium for most lengths) or a paddle brush for sleek looks
- Flat iron and/or curling iron (1 inch is the most versatile)
- Heat protectant
- Strong-hold hairspray (flexible hold for waves, stronger for updos)
- Shine serum or light hair oil
- Texturizing spray (especially for fine hair and updos)
- Hair gel or styling cream (for wet-looks and sleek finishes)
- Fine-tooth comb and a rat-tail comb for parting
- Bobby pins (two sizes if you can), U-pins, and hair elastics
- Optional but elite: a boar bristle brush, a small teasing brush, and a satin scarf
Quick prep by hair type
- Fine hair: Add grip first. Use a lightweight mousse at the roots, then blow-dry. Finish with a texturizing spray before pinning anything.
- Thick hair: Work in sections and be generous with smoothing cream. For updos, you may need more pins than you think, plus a strong elastic.
- Curly or coily hair: Decide if you are enhancing natural texture or smoothing. For sleek looks, stretch with a blowout (or tension method) and use gel strategically. For waves, you can do a brushed-out set on stretched hair for that classic finish.
- Oily roots: Dry shampoo at the root, then wait 60 seconds before brushing through. It works better when it has a moment.
Heat and humidity basics
- Heat protectant is not optional. Apply before any hot tool.
- Temp guide: fine, damaged, or bleached hair: 250 to 320°F. normal hair: 320 to 375°F. thick or coarse hair: 375 to 410°F. When in doubt, start lower and do one extra pass.
- Humidity plan: Swap heavy oils for a light serum, and consider an anti-humidity finishing spray if frizz loves you.
Chloe’s rule (that’s me, your editor for the day): if you want a style to look expensive, do your part first. A clean middle part is basically the little black dress of hair.
Look 1: Sleek updo
This is the red carpet MVP because it photographs like a dream, shows off earrings, and stays put through hugging, dancing, and whatever your night turns into. The key is smooth roots + polished gloss.
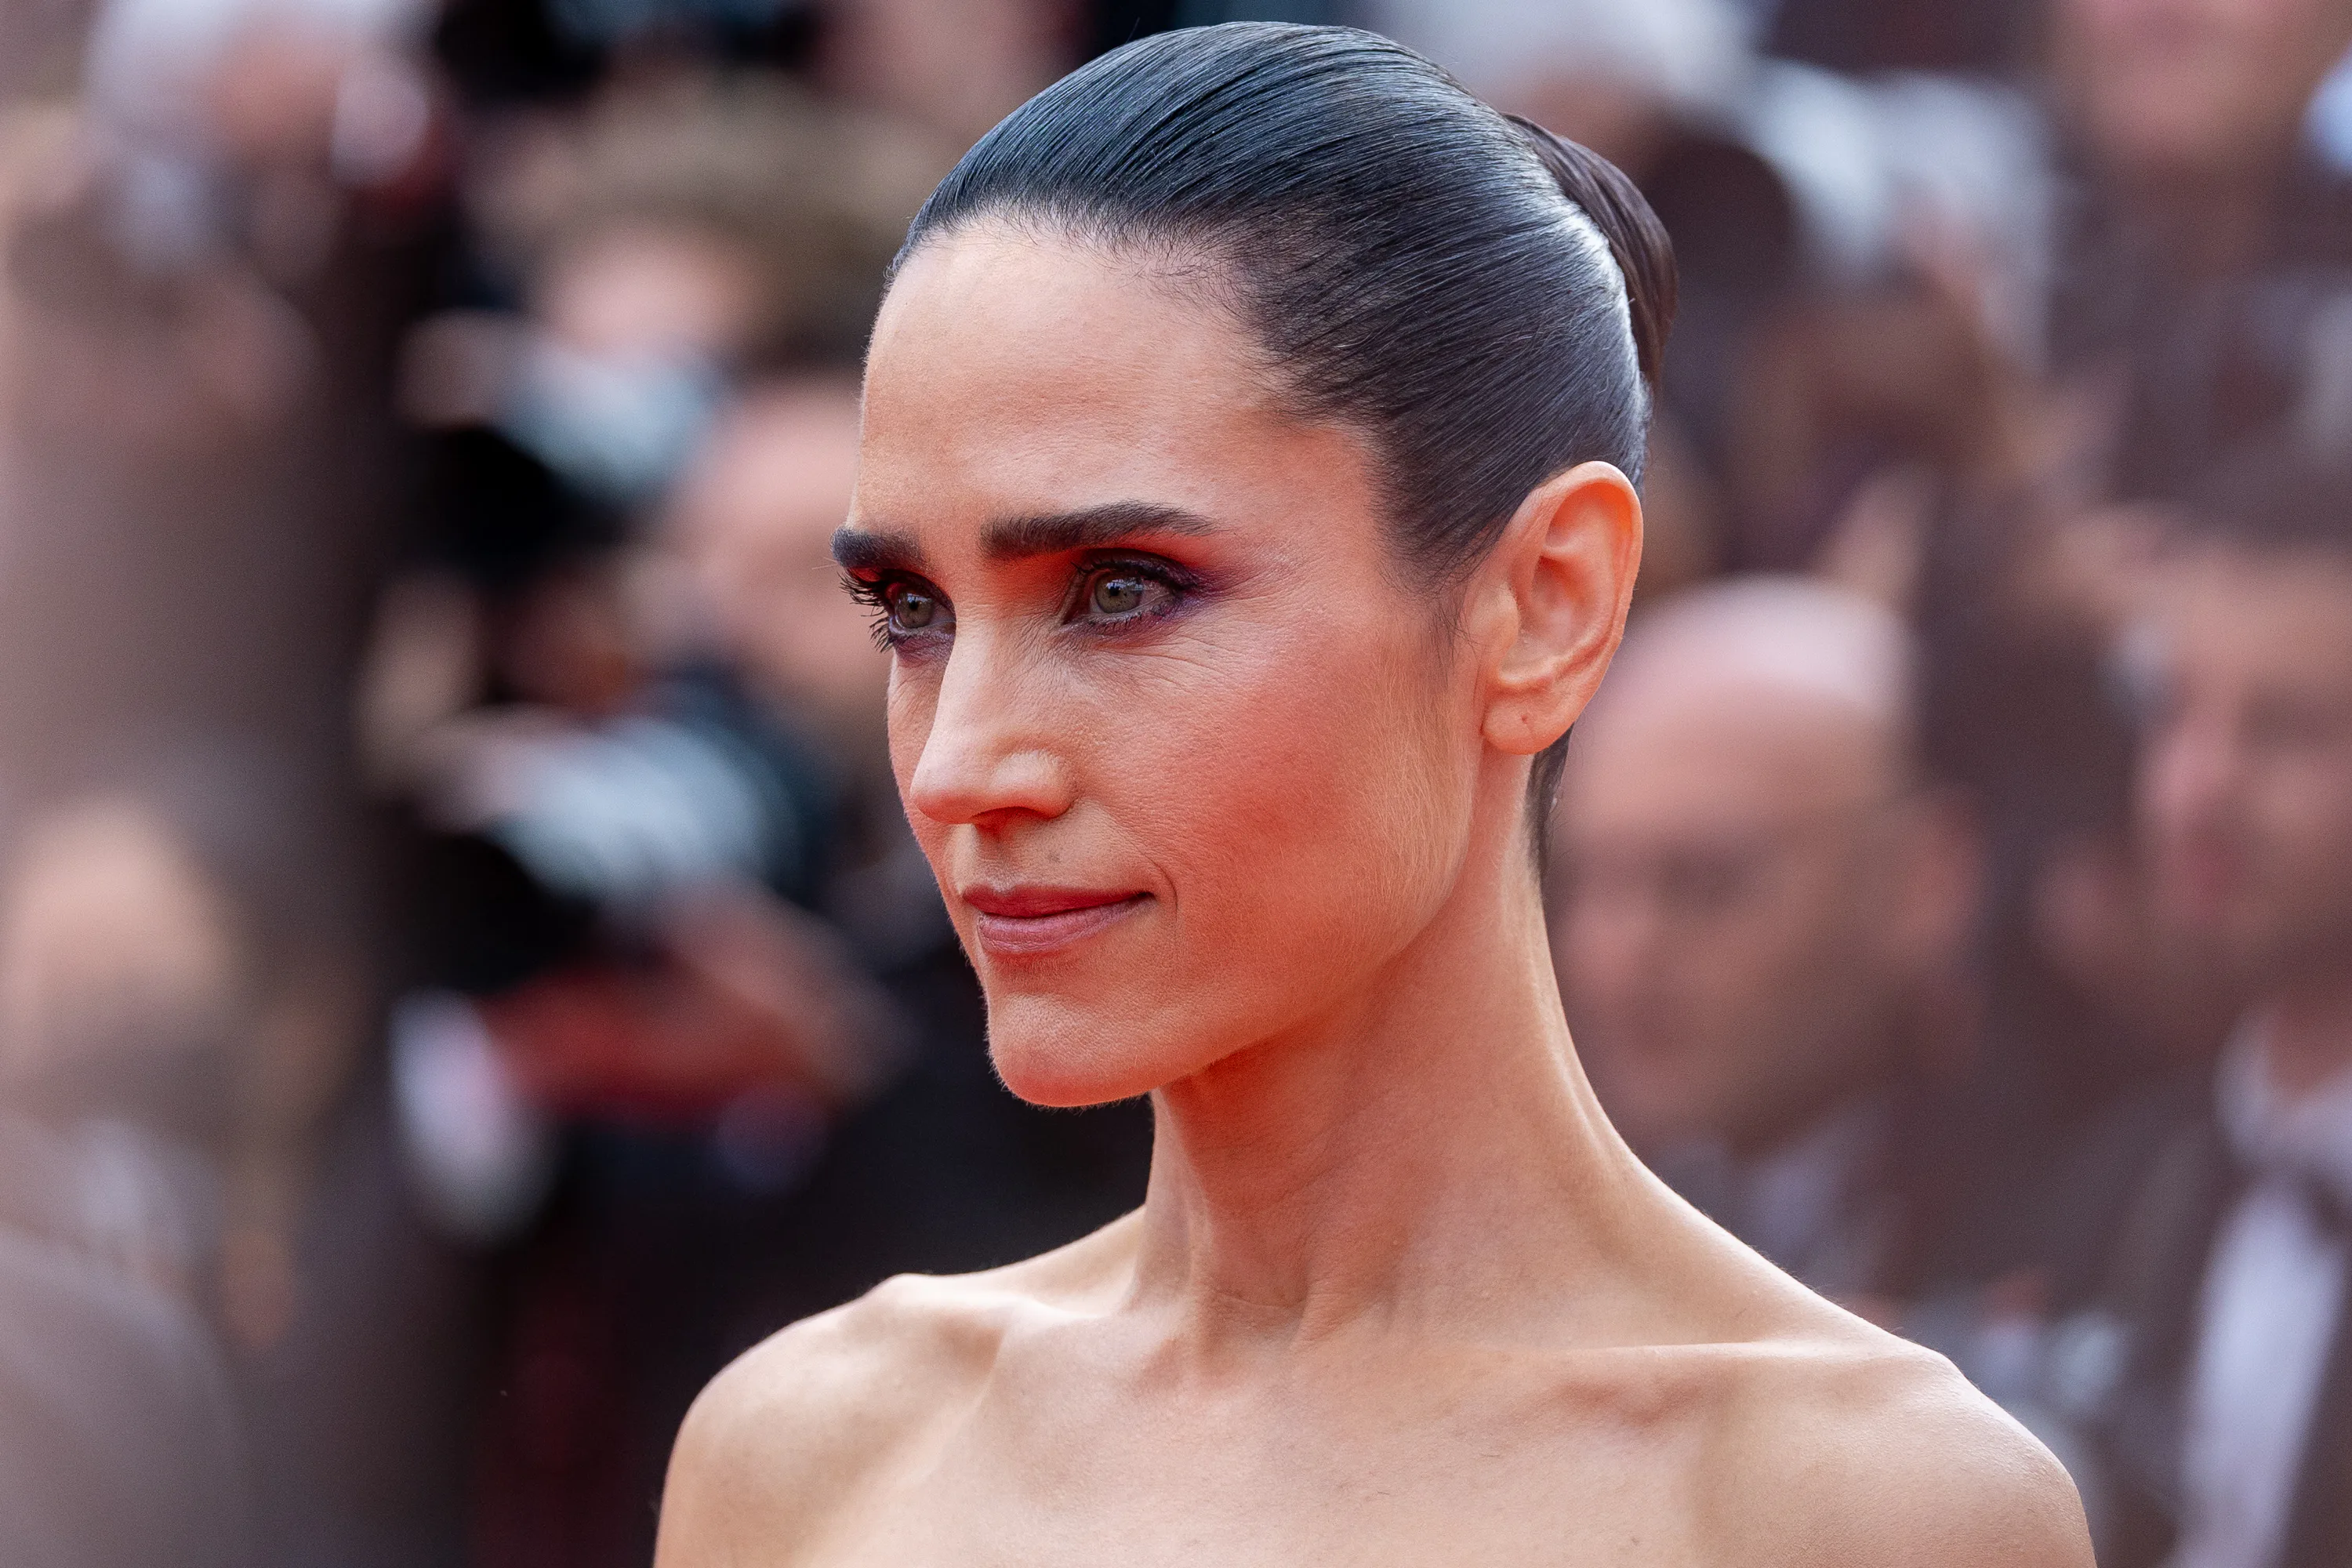
Step-by-step: Sleek low bun
- Start on second-day hair if possible. Freshly washed hair can be too soft and slippery. If you just washed, add a little texturizing spray at the roots.
- Create your part. Use a rat-tail comb for a precise middle part, or go deep side part for extra drama.
- Apply smoothing product strategically. Use a pea-sized amount of styling cream or gel on the top and sides only. Avoid saturating the lengths yet.
- Brush into a low ponytail. Use a boar bristle brush or dense brush to get it glassy. Secure tightly at the nape.
- Lock the ponytail base. Spray a bit of hairspray onto your brush, then brush over flyaways again for that red carpet finish.
- Build the bun. Twist the ponytail and wrap it around the elastic. Secure with U-pins first (they hold better), then bobby pins for details.
- Hide the elastic. If you have enough length, leave a small section out of the ponytail before wrapping, then use it to cover the elastic and pin underneath.
- Finish the shine. Warm one drop of hair oil between palms and lightly smooth over the bun and ends. Add hairspray as your final seal.
Short hair options
- Low twist: Gather into a low pony, twist up, tuck ends, and pin like crazy.
- Claw-clip chignon: Twist up and clip, then hide the clip with a small section of hair and pins.
- Bun form or mini donut: Not cheating, just engineering.
Make it more red carpet
- Add face-framing pieces: pull out two thin strands, then softly bend them with a flat iron.
- Go ballerina: place the ponytail higher and wrap for a lifted effect.
- Upgrade your texture: for a more editorial bun, slick the top, but keep the bun itself slightly textured.
Fix it fast
- Bumps on the sides: Loosen the ponytail slightly, re-brush, then retighten. It is annoying, but it works.
- Flyaways won’t behave: Spray hairspray onto a clean toothbrush or spoolie and smooth the hairline.
- Bun feels heavy: Split the ponytail in two, twist each, wrap one clockwise and one counterclockwise, then pin. The weight distributes better.
Look 2: Hollywood waves
These are the waves that make you want to walk slower just so your hair has time to do its thing. The secret is that Hollywood waves are less about “curling” and more about shaping and setting.
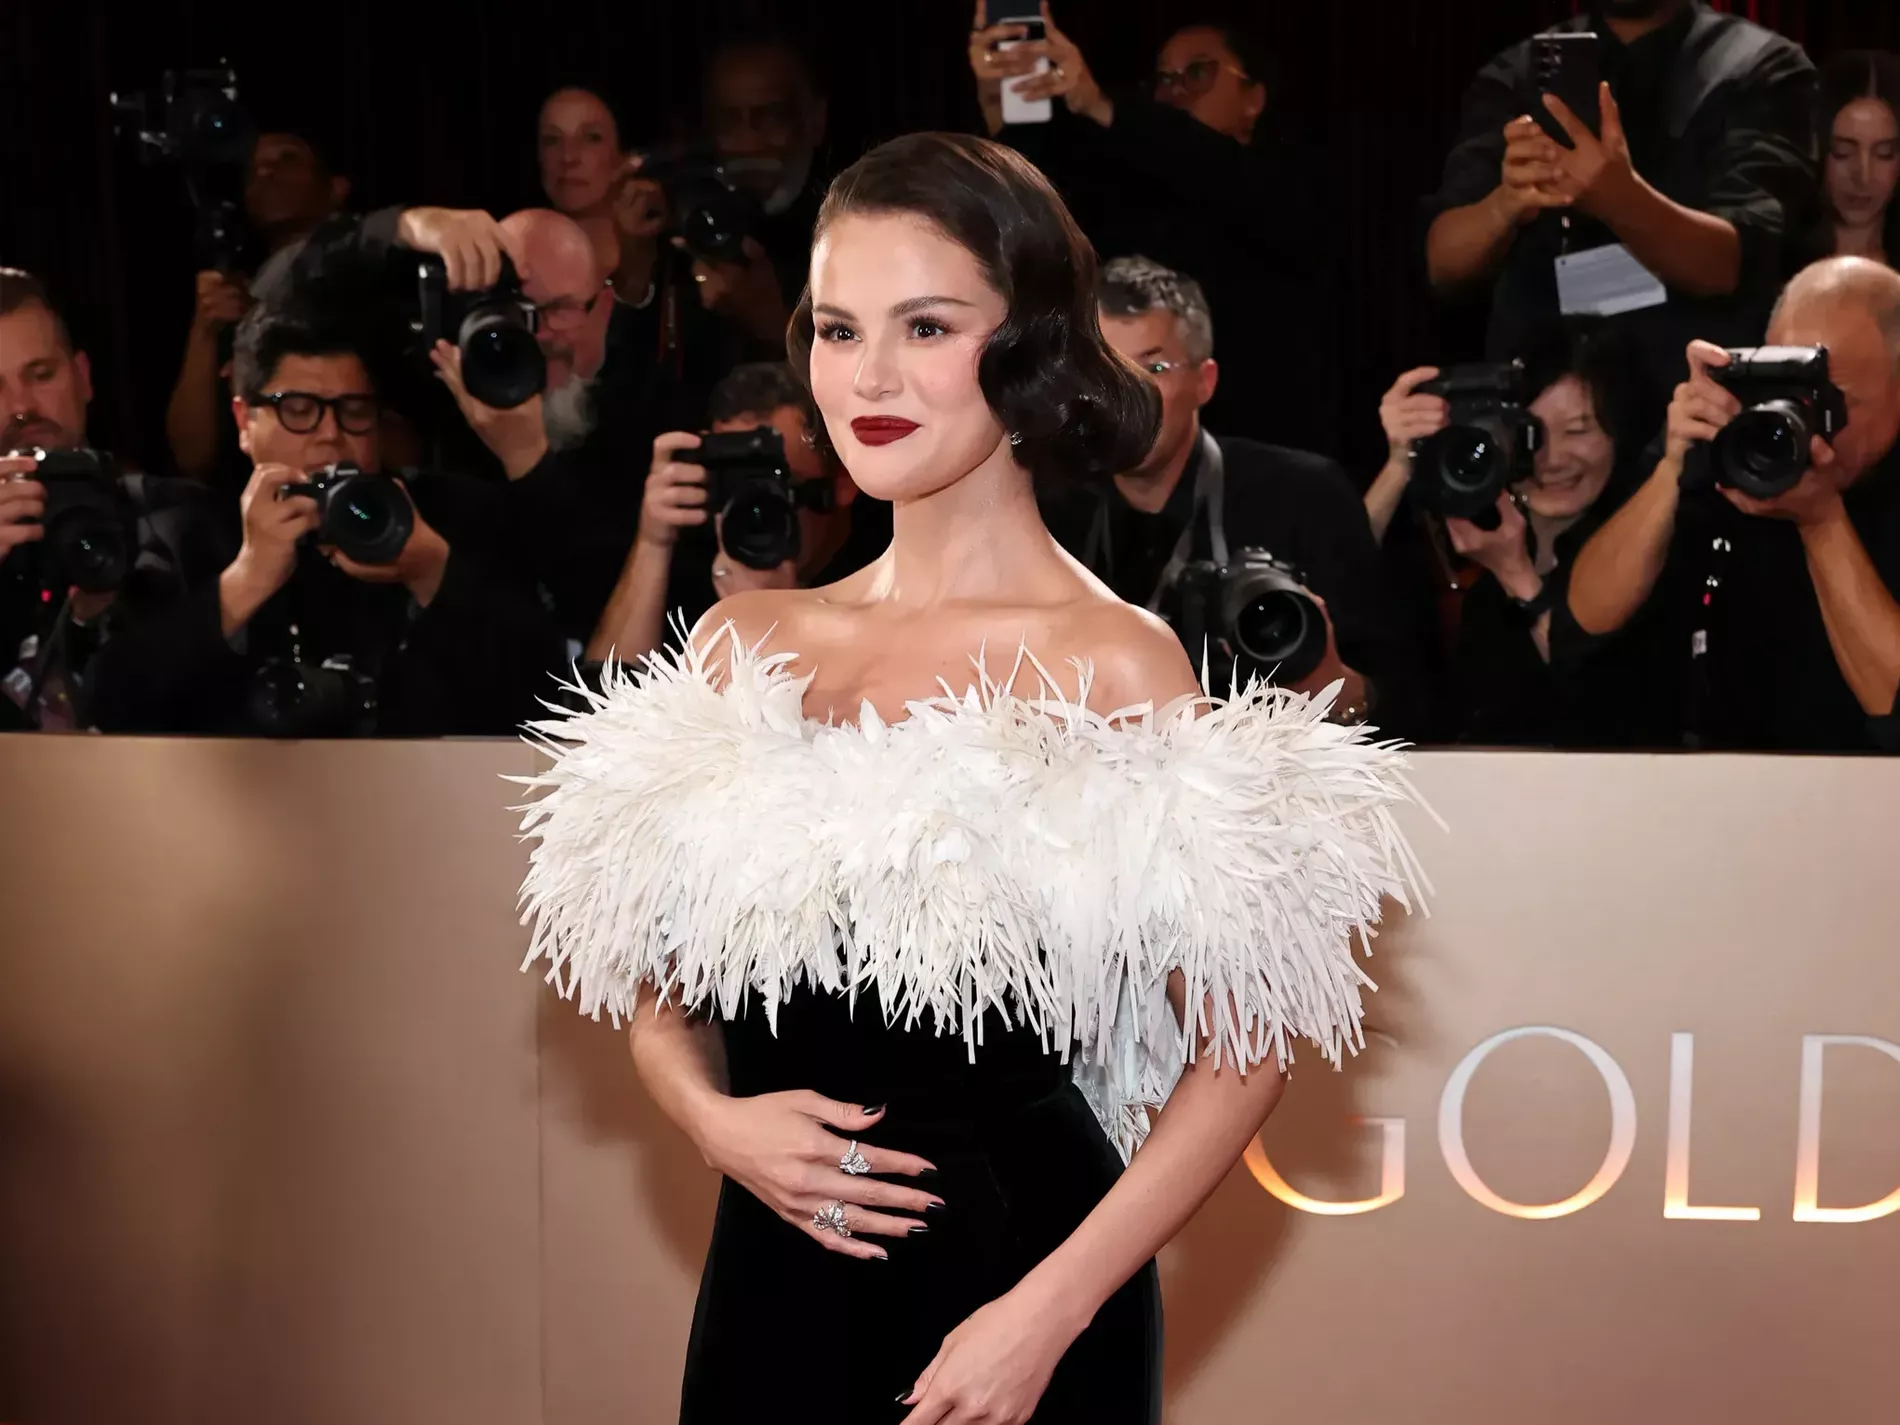
Step-by-step: Soft, brushed-out waves
- Prep with mousse or setting spray. Blow-dry smooth with a round brush. The smoother the blowout, the smoother the final wave.
- Choose your part. Classic Hollywood usually loves a deep side part. Clip the heavier side away while you curl for control.
- Curl in consistent sections. Use a 1 inch curling iron and keep your sections even. Consistency is the whole game here.
- Pick your curl direction.
- Modern: curl away from the face on both sides.
- More vintage: curl the front, face-framing pieces toward the face on the part side, then keep the rest of the curls consistent (usually away from the face) so it still brushes into one clean wave.
- Pin each curl to cool. Roll the curl up and clip it to your head. Let it cool at least 10 minutes. Cooling helps set the curl like a proper setting step would.
- Brush it out gently. Take down clips, then brush with a boar bristle brush or a soft paddle brush until the curls merge into waves.
- Shape the wave. Use your fingers and a comb to guide the “S” pattern. If you want more definition, lightly clamp with a flat iron at the bend points, not the ends.
- Set with hairspray. Mist from 10 to 12 inches away. For extra gloss, add a tiny bit of shine spray after the hold sets.
Shortcut if you are not a pin-curl person
If pinning feels like too much, you can still get a believable wave by letting each curl cool in your hand for a few seconds before dropping it, then waiting a full 5 minutes before brushing out.
Fix it fast
- Too tight: Brush more. Add one drop of oil to your palms and glide over the mid-lengths only.
- Too flat: Lift the root on the heavy side with dry shampoo or texture spray, then lightly backcomb just at the crown.
- Frizz creeping in: Use a light smoothing serum and a quick pass of the flat iron over the outer layer only.
Look 3: Wet-look
The wet-look is the trend that keeps popping up because it reads modern, editorial, and intentional. The difference between “runway wet” and “I got caught in a rainstorm” is placement and finish.
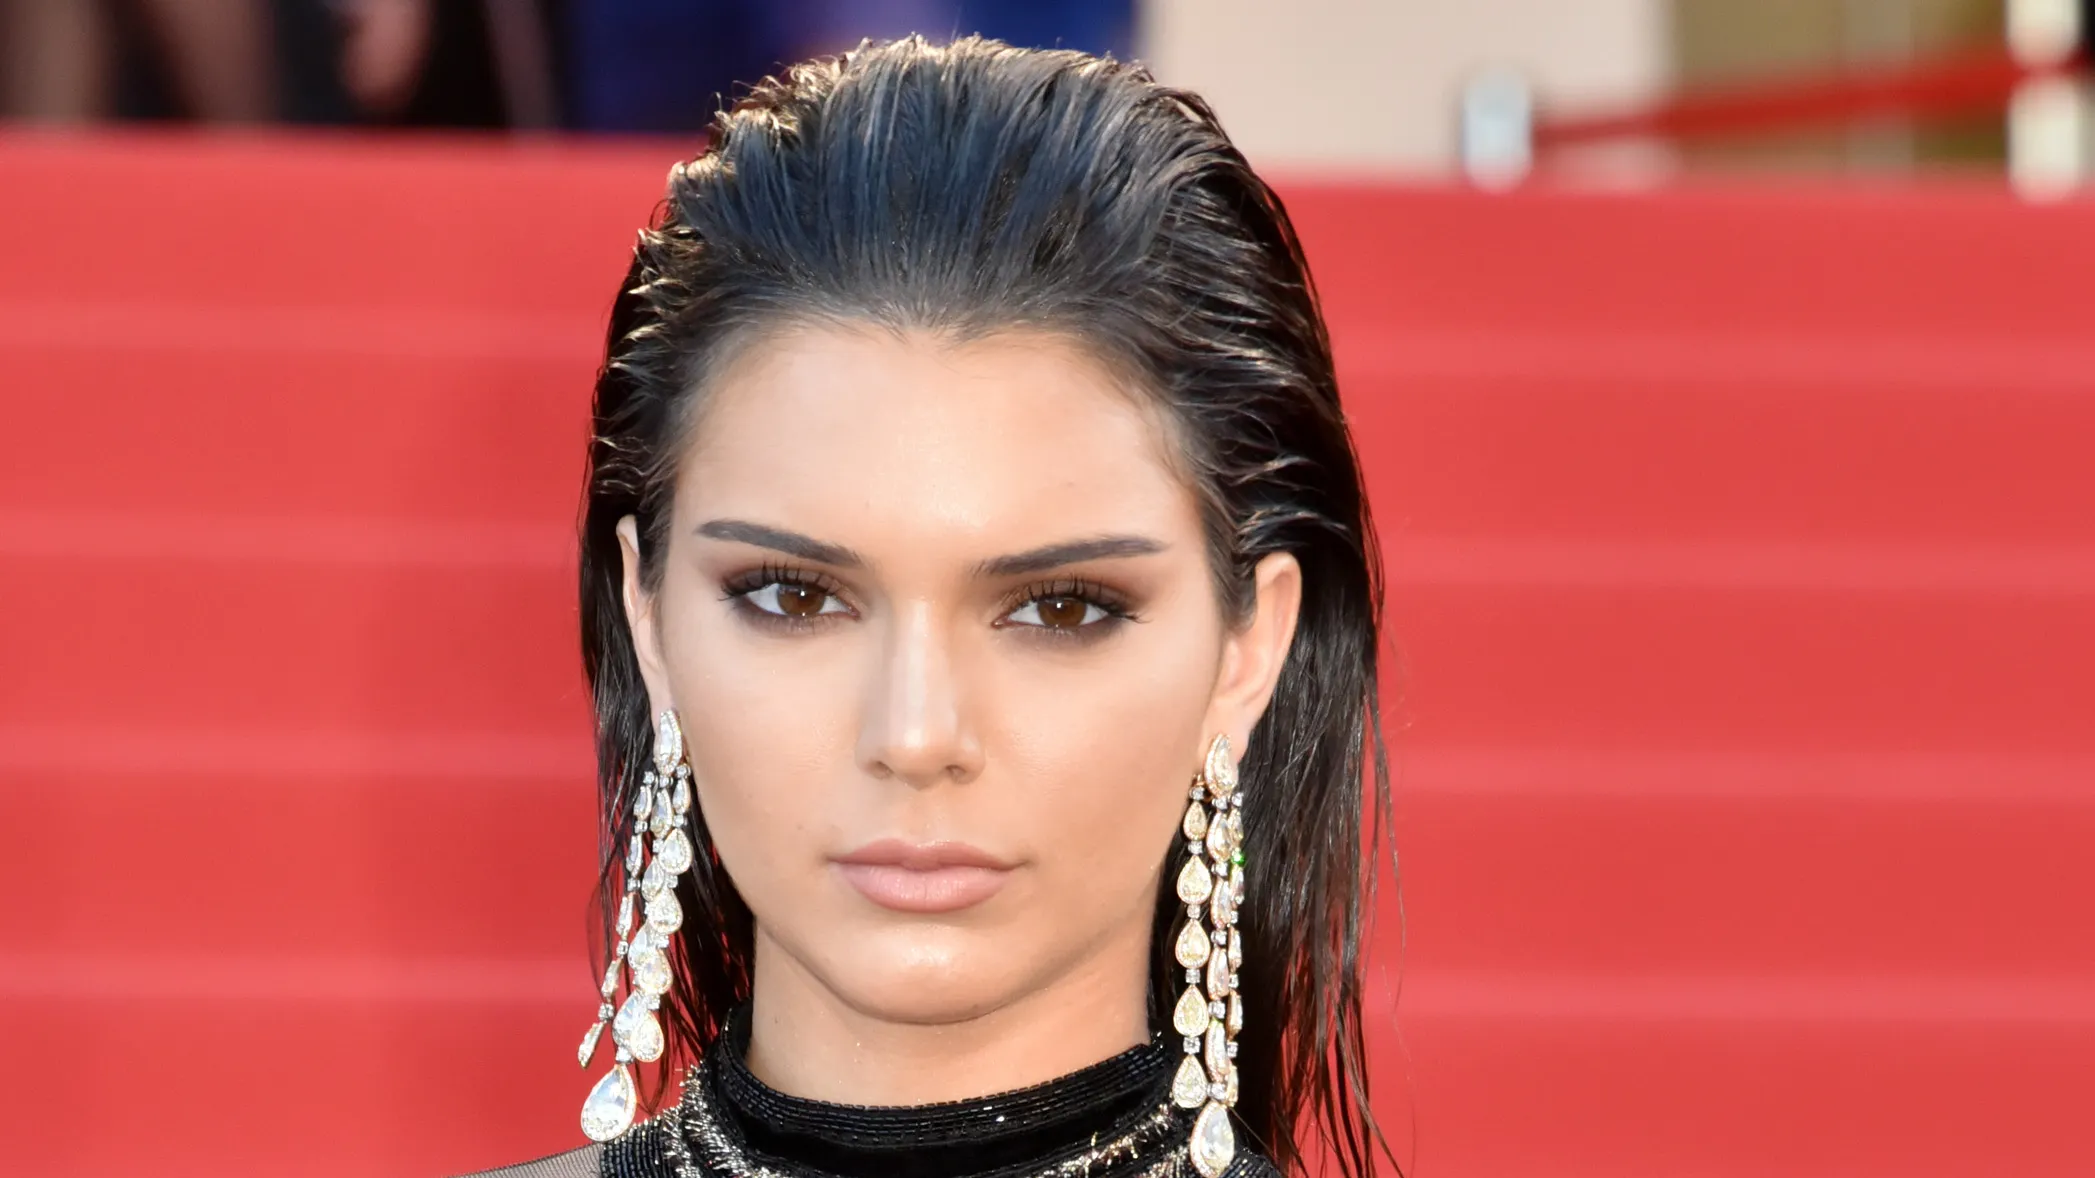
Step-by-step: Slicked-back wet-look
- Start with damp hair (not dripping). Towel-dry, then comb through. If your hair is fully dry, mist it evenly with water first.
- Apply a base product. Use a lightweight leave-in conditioner or styling cream through the mid-lengths and ends to keep them touchable. If your hair is fine, start with less than a pea-sized amount total so it does not go stringy.
- Pick your finish: sleek or textured.
- Sleek: Use gel mostly at the roots and comb straight back.
- Textured: Use gel at the roots, then scrunch a styling cream into the lengths for that piecey, intentional look.
- Comb it into shape. Use a fine-tooth comb for a glossy, uniform surface. Decide if you want a middle part, side part, or fully slicked back.
- Set the hairline. Press the front into place with your palms. If you have baby hairs, smooth them down with a tiny bit of gel on a toothbrush.
- Choose your ending.
- Wet ponytail: Secure at the nape, then coat the ponytail lightly with cream for shine.
- Wet bun: Twist into a low bun and pin. Keep the bun itself a touch softer so it does not read helmet-y.
- Wet and down: Keep hair behind the shoulders and add a touch of shine spray to the ends only.
- Lock it in. Light mist of hairspray over the top. If you go heavy, it can flake.
Fix it fast
- Crunchy cast: Add a tiny amount of hair oil to your hands and gently press over the surface to soften.
- White flakes: Usually product layering issues. Stick to one gel line, and avoid mixing waxes with water-based gel.
- Greasy, not glossy: Use less gel on the lengths and more controlled shine spray on the ends.
Bonus: Make it last
- Anchor with pins like a pro: Many stylists recommend inserting bobby pins with the wavy side facing the scalp for extra grip, but pins vary. If yours slide, flip them and see which direction holds better in your hair. For serious hold, cross two pins in an X.
- Use two-step hairspray: A light mist before you finish, then a final mist at the end. It holds without turning stiff.
- Carry a mini kit: travel hairspray, 6 bobby pins, tiny comb, and a mini shine serum. That is it. You are not moving in with your purse.
- Protect overnight: If you want waves to survive, sleep with a loose bun and a satin scarf, or pineapple your hair if it is longer.
Celebrity-inspired picks
You do not need a stylist-only product closet, but you do need the right type of product for the look.
For sleek updos
- Styling cream or gel: medium-to-strong hold, high control
- Boar bristle brush: smooths without creating frizz
- Finishing spray: strong hold, low residue
For Hollywood waves
- Mousse or setting spray: helps the wave pattern hold
- 1 inch curling iron: consistent curls are everything
- Flexible hairspray: so hair still moves
For wet-looks
- Water-based gel: shine without heaviness
- Leave-in conditioner: keeps lengths touchable
- Fine-tooth comb: clean placement at the roots
Choose your look
Still deciding? Here is the vibe check.
- Sleek updo: You want timeless, polished, and “my earrings deserve their own agent.”
- Hollywood waves: You want romance, glamour, and maximum hair movement in photos.
- Wet-look: You want fashion, edge, and a look that screams confidence even if you are running late.
If you try one of these at home, take a selfie in good light and admire your work. Red carpet energy is a mindset, and also a very strong bobby pin.